Master Coconut Fudge: Traditional vs. Quick & Easy Methods
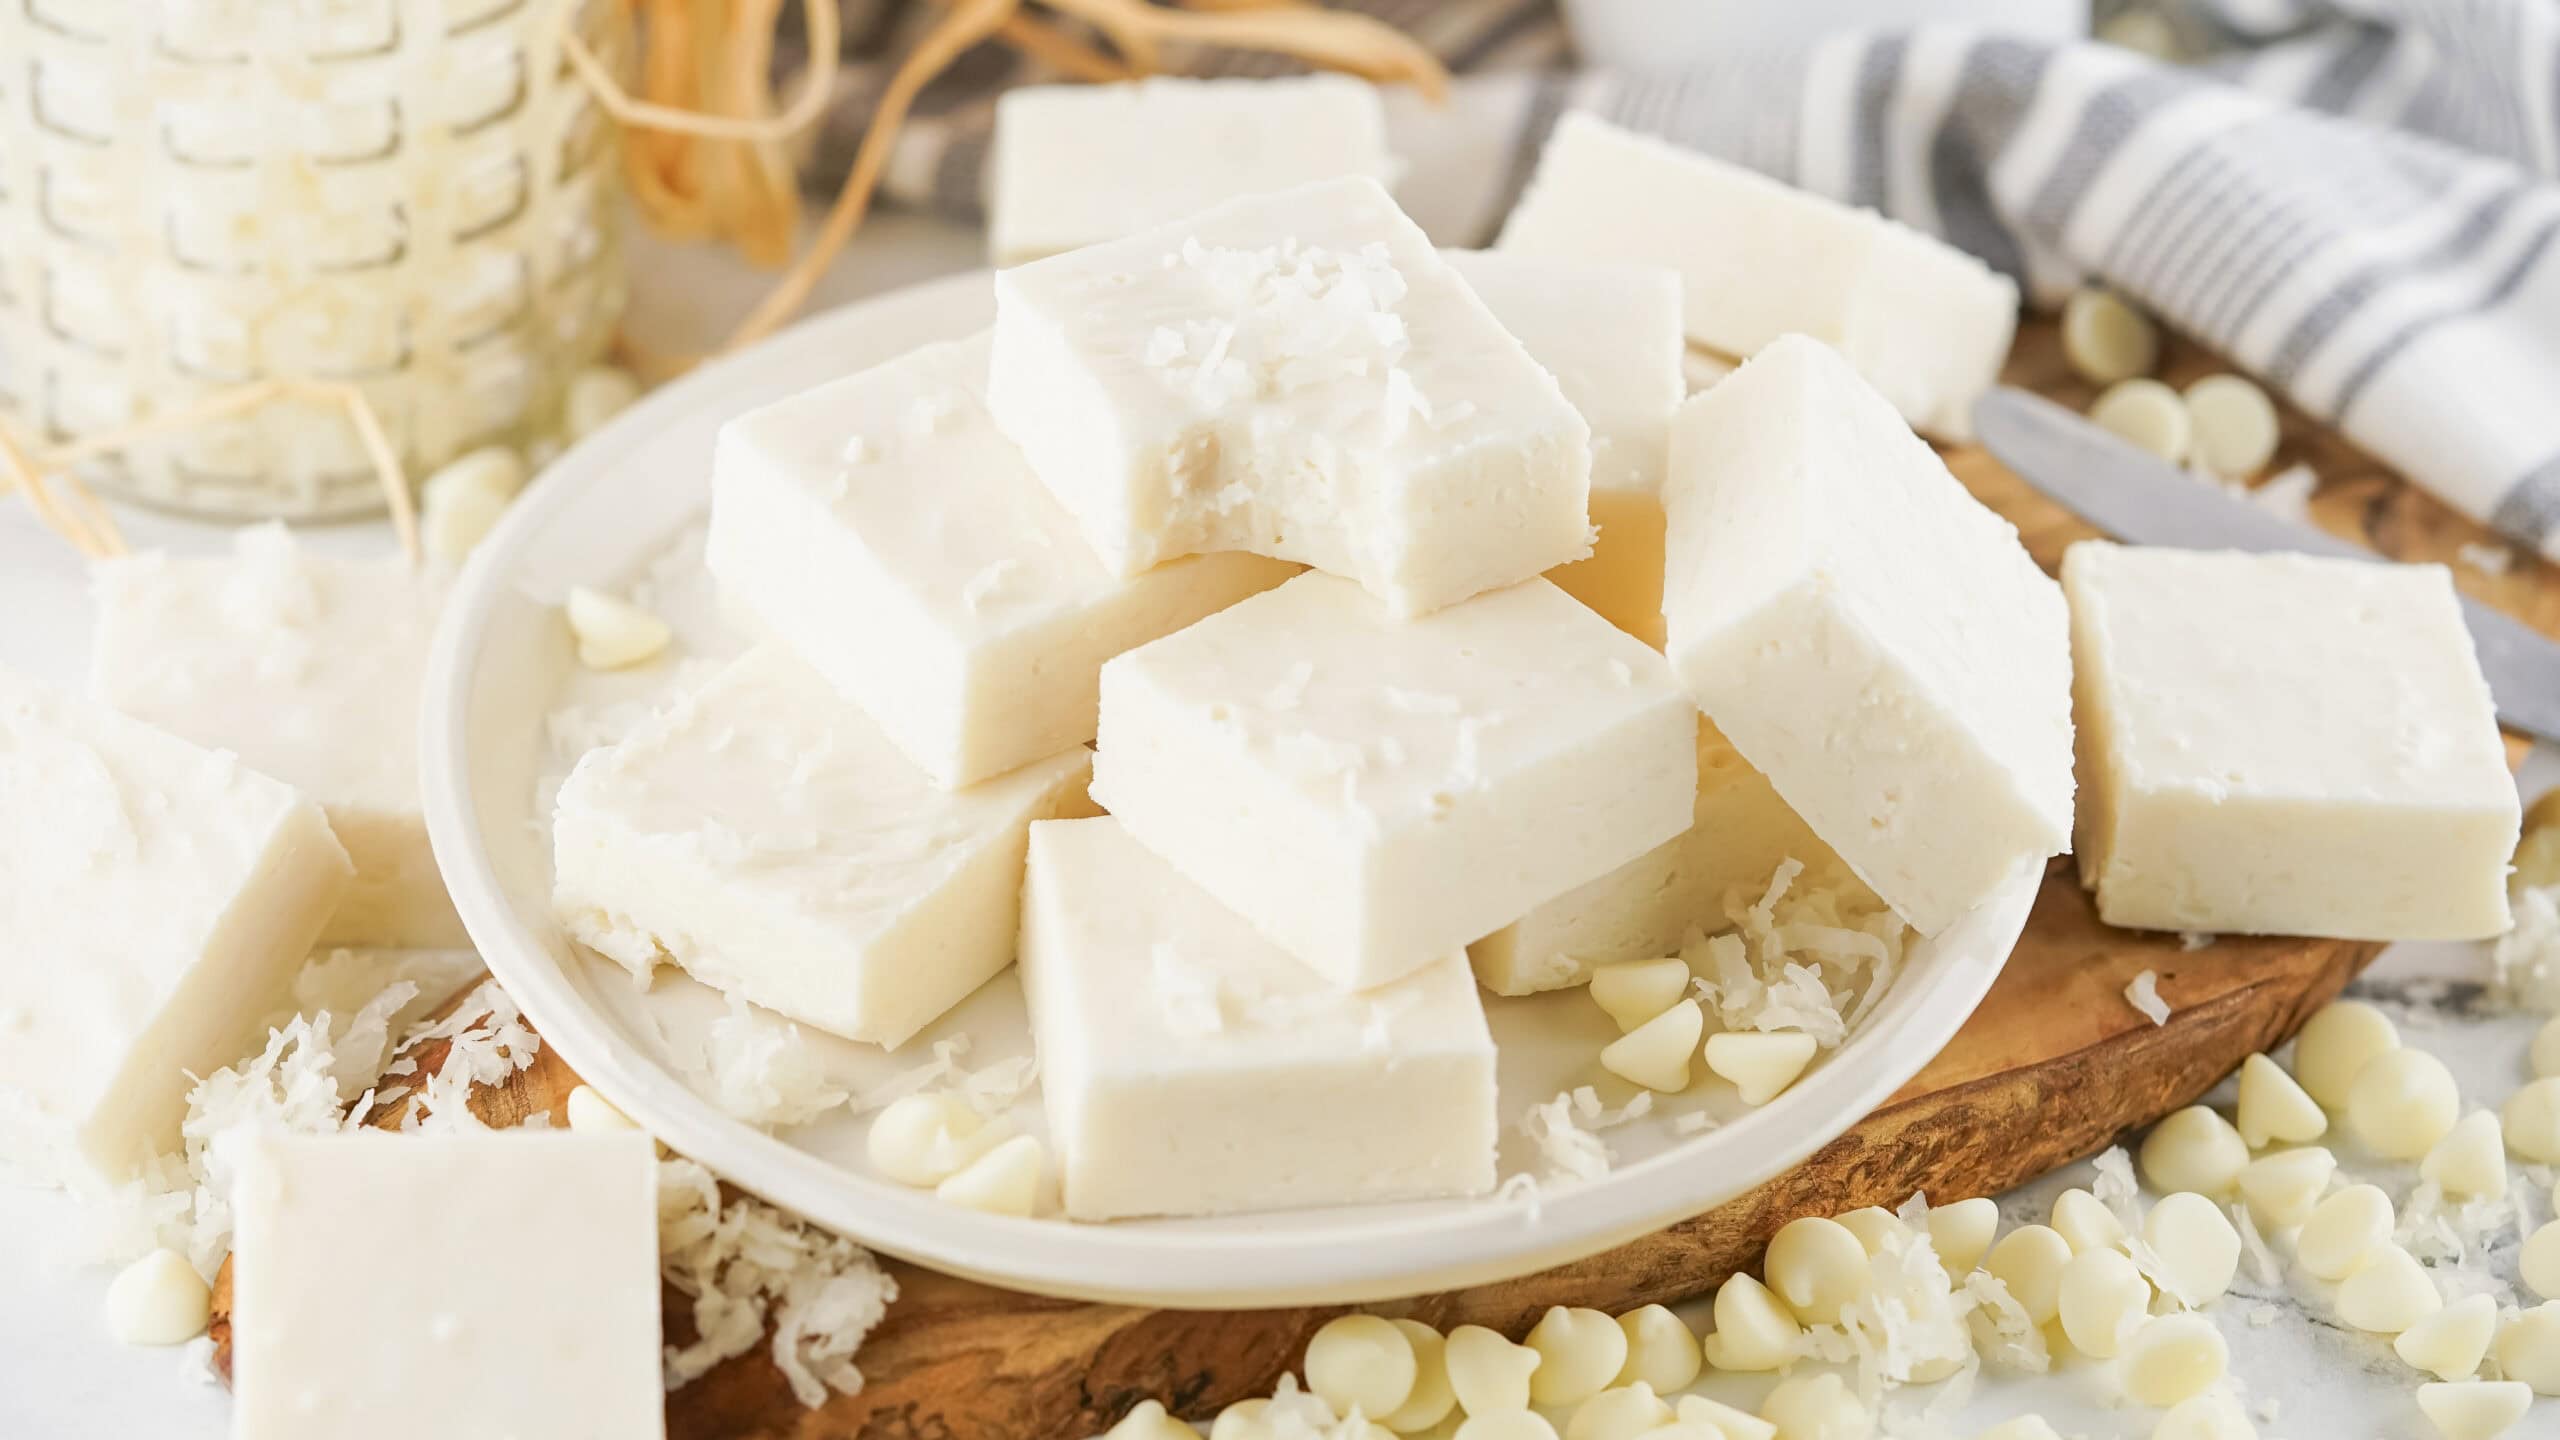
Few treats evoke tropical paradise quite like a perfectly crafted piece of coconut fudge. Its rich, creamy texture and distinctively sweet, nutty flavor make it an irresistible indulgence. Whether you're a seasoned candy maker or a kitchen novice, there's a path to crafting this delightful confection. This article will guide you through two distinct methods for creating exquisite
coconut fudge: the rewarding, precise traditional approach and the delightfully simple quick-and-easy version. Get ready to discover which method best suits your culinary style and time constraints!
The Allure of Coconut Fudge: A Tropical Treat for Every Occasion
Beyond its captivating taste,
coconut fudge holds a special place in the hearts of dessert lovers for its versatility and comforting appeal. It’s perfect for holiday gift baskets, a sweet ending to a family meal, or simply a spontaneous indulgence on a quiet afternoon. The interplay of creamy sweetness and the exotic notes of coconut creates a flavor profile that transports your taste buds to sun-drenched beaches. But what truly sets homemade coconut fudge apart is the ability to control its texture and flavor, ensuring every bite is exactly how you imagine it – meltingly smooth, intensely flavorful, and utterly satisfying.
Method 1: The Art of Traditional Coconut Fudge Making
For those who appreciate the craft of candy making, the traditional method offers a deeply rewarding experience. This approach involves precise temperature control and a careful dance of ingredients, culminating in a fudge with unparalleled depth of flavor and a classic, perfectly firm yet melt-in-your-mouth texture.
Essential Ingredients for Traditional Coconut Fudge:
The foundation of a classic coconut fudge relies on a few key components that interact beautifully under heat:
- White Sugar: The primary sweetener and structural backbone of the fudge.
- Sweetened Condensed Milk: Adds richness, creaminess, and an additional layer of sweetness.
- Coconut Cream: Provides an intense, authentic coconut flavor and contributes to the fudge's luxurious texture. (Recipe Tip: You can substitute 1 ½ cups of coconut milk for the coconut cream for a slightly lighter texture, though coconut cream delivers a richer result).
- Butter: Essential for a smooth mouthfeel and to prevent crystallization, ensuring a silky finish.
- Coconut Extract (Optional): Boosts the coconut flavor, making it even more pronounced.
- Ginger: A subtle yet transformative addition, offering a warm, spicy counterpoint that beautifully complements the sweetness of the coconut.
- Vanilla Extract: A universal enhancer, bringing out the best in all the other flavors.
- Angostura Bitters (Optional): A unique, intriguing ingredient that adds a complex aromatic note, elevating the fudge from delicious to extraordinary. Don't skip it if you're feeling adventurous!
The Traditional Process: A Step-by-Step Guide
Crafting traditional
coconut fudge requires patience and a candy thermometer, but the results are well worth the effort.
- Preparation is Key: Line a baking dish (usually 8x8 or 9x9 inches) with aluminum foil or parchment paper, leaving an overhang on the sides to easily lift the fudge out later.
- Initial Simmer: Combine the white sugar, sweetened condensed milk, coconut cream, and butter in a heavy-bottomed pot. Stir constantly over medium heat to dissolve the sugar and prevent scorching. Bring the mixture to a gentle simmer, allowing it to cook until it reaches 225°F (110°C). This stage, known as the "soft ball" stage, is crucial for dissolving sugar crystals and beginning the fudge's transformation. This typically takes about 30 minutes.
- Flavor Infusion & Final Cook: Once at 225°F, stir in the coconut extract, ginger, vanilla extract, and Angostura bitters (if using). Continue simmering, stirring less frequently but consistently, until the mixture reaches 236°F (113°C). This slightly higher temperature moves the sugar to a "firm ball" stage, giving the fudge its classic structure. This usually takes an additional 10 minutes.
- Cooling & Setting: Immediately remove the pot from the heat. Let the fudge stand undisturbed for about 2 minutes. This brief resting period helps the mixture cool slightly and prepare for pouring.
- Pour and Chill: Pour the hot fudge into your prepared baking dish. Resist the urge to scrape the sides of the pot, as residual sugar crystals can lead to a grainy texture. Refrigerate until completely set, which typically takes about 2 hours.
- Serve: Once firm, lift the fudge out of the pan using the foil/parchment overhang, cut into 1-inch squares, and enjoy!
The reward for this careful process is a deeply flavored, creamy
coconut fudge that boasts a perfectly crystalline structure, often revered by true fudge aficionados.
Method 2: Quick & Easy Coconut Fudge – Instant Gratification
For those moments when a craving for coconut fudge strikes and time is of the essence, the quick and easy method is a culinary lifesaver. This ingenious approach leverages readily available ingredients to deliver a smooth, creamy fudge in a fraction of the time, often without the need for a candy thermometer. If you’re looking for a dessert that’s foolproof and fast, this is your go-to. For more details on this lightning-fast method, check out our guide on
Microwave Coconut Fudge: Easiest 4-Ingredient No-Bake Treat.
The Genius Behind the Easy Coconut Fudge:
The secret to this rapid method lies in using pre-made components that provide the necessary structure and creaminess without extensive cooking:
- White Chocolate Chips: These melt down beautifully to create a smooth, stable base for the fudge. They solidify upon chilling, giving the fudge its firm yet tender texture.
- Store-Bought Frosting: This is the game-changer! Pre-made frosting provides the ideal creamy consistency and sweetness, eliminating the need to cook sugar to specific temperatures. It’s essentially a shortcut to the perfect fudge base.
- Sweetened Shredded Coconut: Infuses intense coconut flavor and texture throughout the fudge.
- Coconut Extract: Amplifies the tropical taste, ensuring a robust coconut presence.
The Quick & Easy Process: Microwave, Mix, Chill!
This method is incredibly straightforward, perfect for beginners or busy schedules:
- Prepare Your Pan: Line an 8x8-inch pan with parchment paper. Avoid cooking spray, as it might not interact well with the fudge mixture.
- Melt White Chocolate: Place white chocolate chips in a medium microwave-safe bowl. Microwave on high for 2 minutes, pausing every 30 seconds to stir, even if they haven't fully melted. This prevents scorching and ensures smooth melting.
- Warm Frosting: While the chocolate melts, remove the lid and foil from your store-bought frosting container. Microwave the frosting on high for 1 minute until warm and slightly softened. Stir in the coconut extract gently.
- Combine & Mix: Pour the warm frosting mixture into the melted white chocolate. Add the sweetened shredded coconut. Stir vigorously until all ingredients are thoroughly combined and the mixture is smooth and creamy.
- Chill to Perfection: Spread the fudge mixture evenly into your prepared pan. Chill in the refrigerator for at least 4 hours, or until completely set.
- Serve: Once firm, cut into 1-inch squares. For the best, melt-in-your-mouth texture, allow the fudge to come to room temperature before serving.
This method delivers a rich, sweet, and wonderfully coconut-packed fudge that truly tastes like it came from a fancy candy shop, all with minimal effort.
Choosing Your Path: Traditional vs. Quick & Easy Coconut Fudge
So, which method for making
coconut fudge is right for you? Both deliver delicious results, but they cater to different preferences and situations:
Time & Effort:
- Traditional: Requires about 40-50 minutes of active cooking and stirring, plus at least 2 hours of chilling. It's a labor of love that demands attention to detail.
- Quick & Easy: As little as 3-5 minutes of active prep time, followed by 4 hours of chilling. It’s ideal for spontaneous cravings or when you need a dessert in a hurry.
Skill Level & Equipment:
- Traditional: Best for those comfortable with candy-making techniques and the use of a candy thermometer. Precision is key.
- Quick & Easy: Foolproof even for beginners. No special equipment beyond a microwave and a bowl is needed.
Flavor & Texture Profile:
- Traditional: Often boasts a deeper, more complex flavor profile due to the slow cooking of sugar and the optional aromatic additions like ginger and bitters. The texture is classically firm yet tender, with a subtle melt.
- Quick & Easy: Delivers a distinctly smooth and creamy texture, often slightly softer, with a prominent sweet coconut and white chocolate flavor. It’s undeniably decadent and melts beautifully in your mouth.
When to Choose Which:
- Opt for traditional coconut fudge for special occasions, holiday gifts, or when you genuinely enjoy the process of creating something from scratch. It’s a wonderful culinary project.
- Choose the quick & easy method for last-minute treats, casual gatherings, or when you want to satisfy a sweet tooth without extensive cooking. It’s perfect for gifting when time is short, or simply indulging yourself after a long day.
Regardless of the method you choose, homemade
coconut fudge is an absolute delight. For more inspiration on how to enjoy this tropical treat, delve into our article
Indulge in Creamy Coconut Fudge: Your Tropical Sweet Escape.
Conclusion
Whether you decide to embark on the precise journey of traditional candy making or embrace the effortless charm of the quick-and-easy method, mastering
coconut fudge is a rewarding experience. Both approaches yield incredibly delicious results that capture the essence of this tropical delight. Experiment with both, discover your favorite, and prepare to delight your taste buds (and those of lucky recipients!) with homemade coconut fudge that's truly a taste of paradise. Happy fudging!